TL;DR - Installing a Wooden Shed Door on Your Shed
- Installing a shed door is achievable with patience and attention to detail, ensuring security, weather protection, and longevity for your shed.
- Key steps involve preparing the opening, attaching hinges, positioning and shimming the door for level, checking its operation, and finally weatherproofing.
- Common mistakes to avoid include misalignment, under-fastening, poor weather sealing, and incorrect hinge placement.
- For complex issues, such as an out-of-square opening or rotted jambs, it’s advisable to consider professional help from companies like Shed Repair LLC, which offers on-site service and nationwide shipping of parts.
If you’re looking to replace your door, we have the experience and know-how! Keep reading to find out more!
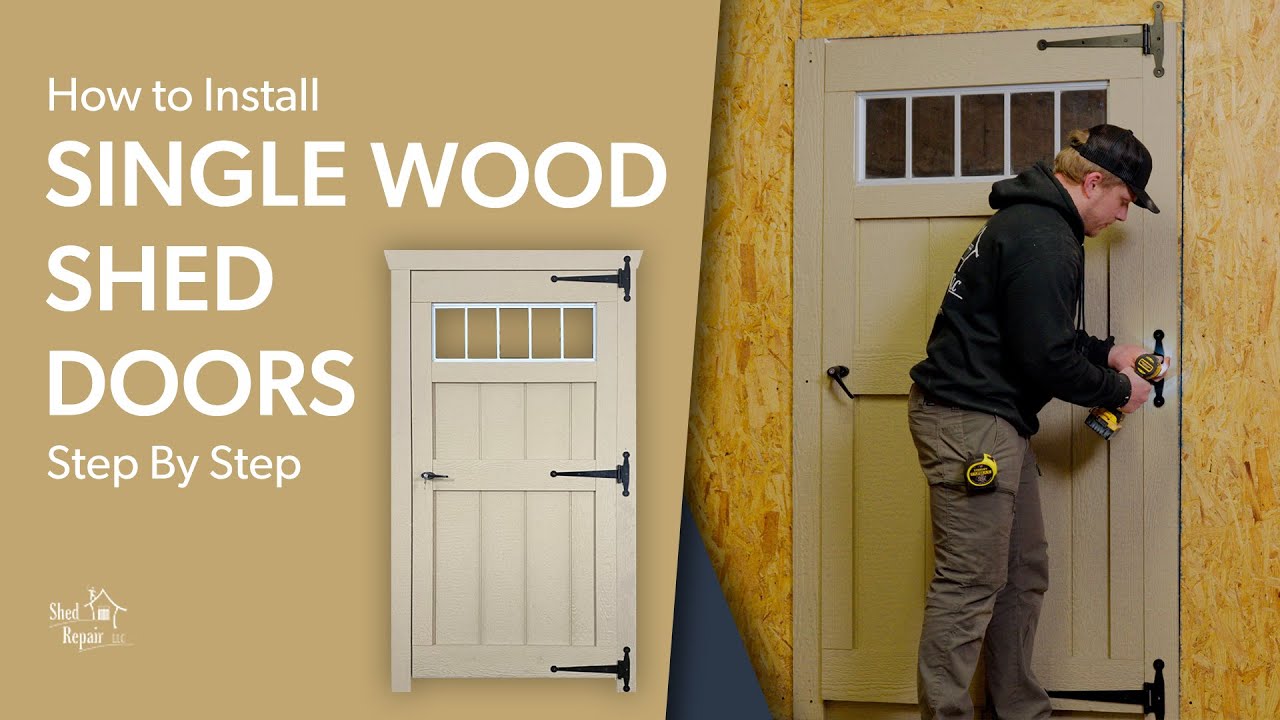
Installing a Wooden Shed Door on Your Shed – An Expert’s Guide
A solid, well-hung shed door keeps your tools safe, blocks out the weather, and helps your shed last longer. But sometimes, a door doesn’t get mounted correctly. The door might not close or latch properly, or scrape or rub against the jamb. Gaps around the door’s perimeter may allow excess moisture or bugs to enter.
You could repair and remount the door. Or, you could replace the door. Either way, installing a shed door isn’t very difficult, as Jonathon, your friendly Shed Repair Guy, demonstrates:
Although Jonathon has years of experience installing shed doors, you can install one just as well as he does! All you need is some patience and attention to detail.
At Shed Repair, we care that your shed is in tip-top condition, and we’d love to share our knowledge with you! We’ll show you the whole process of installing a wooden shed door—from prep to final weatherproofing, so you can do the job with confidence.
Ready to install some doors? Let’s get started!
Table of Contents


Why a Well-Installed Shed Door Matters
While it’s evident that having a well-installed door is beneficial, understanding why it matters is crucial for keeping your shed and belongings safe and secure.
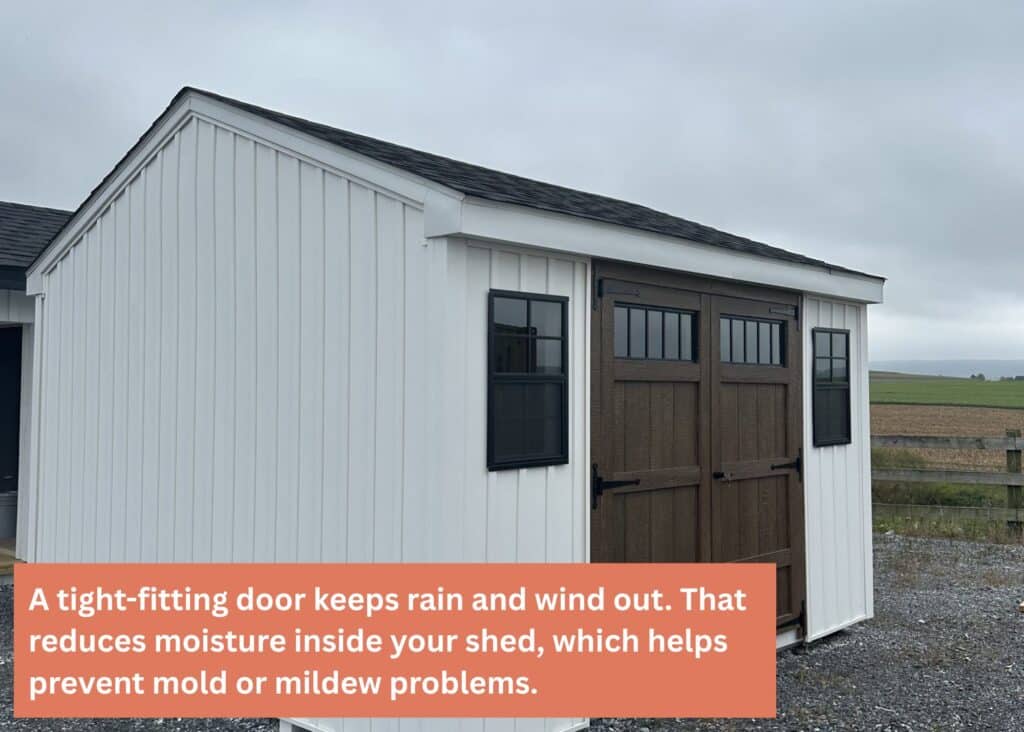
- Weather protection: A tight-fitting door keeps rain and wind out. That reduces moisture inside your shed, which helps prevent mold or mildew problems. For more on why moisture control matters, see our mold & mildew guide.
- Security: Correct hinge and latch placement help the door close, seal, and lock properly.
- Longevity: A square, supported door won’t rub, sag, or wear out hinges and latches early, and it looks good from the outside.
Tools & Materials You’ll Need
You’ll need more than a drill and screwdriver to install a shed door. Here are the tools you’ll need:
- Utility knife (to open packaging)
- Wooden door slab (single or one leaf of a double set)
- Hinges and exterior-grade screws (use the count provided with your door)
- Drill/driver with #2 square drive bits and 5/16th drill bit (including a countersink, if you have one)
- A hammer and chisel (to make a notch out for the door latch)
- A circular power saw
- Level (2- or 4-ft)
- Tape measure, speed square & pencil/marker
- Shims (composite or wood)
- Vice grip and allen wrench set (for minor adjustments)
- Exterior caulk/sealant & paint/stain
- Safety gear: gloves, eye protection
- A friend (as an extra pair of hands)
Tip: Keep hardware and fasteners within reach before you lift the door. That makes hanging faster and safer.
Now that you’ve gotten your tools and materials together, let’s get started with installing that door!
Step 1: Install the Hardware
This is where the fun starts. You’ll want to securely install the hardware on the door, preparing it for hanging on the door frame.
- Mark hinge locations on the door edge. Most shed doors use hinges near the top and bottom, with an optional middle hinge for heavier doors.
- Pre-drill pilot holes to prevent splitting and ensure the screws bite securely.
- Fasten hinges to the door slab. Keep each hinge knuckle flush to the edge so the leaves swing freely.
- Double-check alignment. Lay the door flat and cycle each hinge—ensure there’s no binding or twist.
Step 2: Prepare & Measure the Opening
Prep the shed’s door opening for your door. There are a few considerations to ensure that the door fits snugly, is snug against the shed’s door, and provides room for the door to swing open
- Make sure the door trim fits. Ensure the wall sheathing aligns flush with the opening. The thickness of the wall sheathing plus the thickness of the trim you’re installing should equal the thickness of the portion of the door that overlaps the floor. This measurement ensures that the doors will close properly against the opening.
- Check squareness. You’ll need a tape measure for this. From a corner of the opening, measure the distance to the opposite corner of the opening, then do the same for the other corner. Both measurements should be the same or very close to being the same.
- Inspect the trim, and replace it if necessary. Tighten any loose screws. Replace damaged wood now, not after the door is up. The jamb must be intact, as deteriorating wood will cause the door to pull away from the jamb over time. Otherwise, measure, cut, and install the new door trim.
- Dry-fit. Hold the door in the opening (use blocks under the door to raise it to the final height) to confirm it will clear the floor and trim.

Step 3: Position the Door, Shim for Level & Mount the Door
Now that the framework for the door is ready, it’s time to mount the door. But it’s not as easy as hanging it up. A little patience and precision will go a long way.
- Support the door. Set blocks under the door to reach your planned bottom gap.
- Shim the hinge-side jamb. Place thin shims behind hinge spots so the hinge screws bite solid wood, and the door edge will sit straight.
- Tack the top hinge first. With a helper holding the door, drive one screw through the top hinge into the jamb. Check the level and reveal along the latch side.
- Secure remaining hinges. Add one screw per hinge, check the swing, then drive the rest of the screws. Adjust shims as needed to keep an even gap.
Step 4: Check Operation & Make Adjustments
With the door installed, make a few fine adjustments to ensure that the door closes securely. You can adjust the angle of the door hinges using shims and the door straighteners with vise grips to pull the sides of the door inward, preventing it from rubbing against the frame if needed.
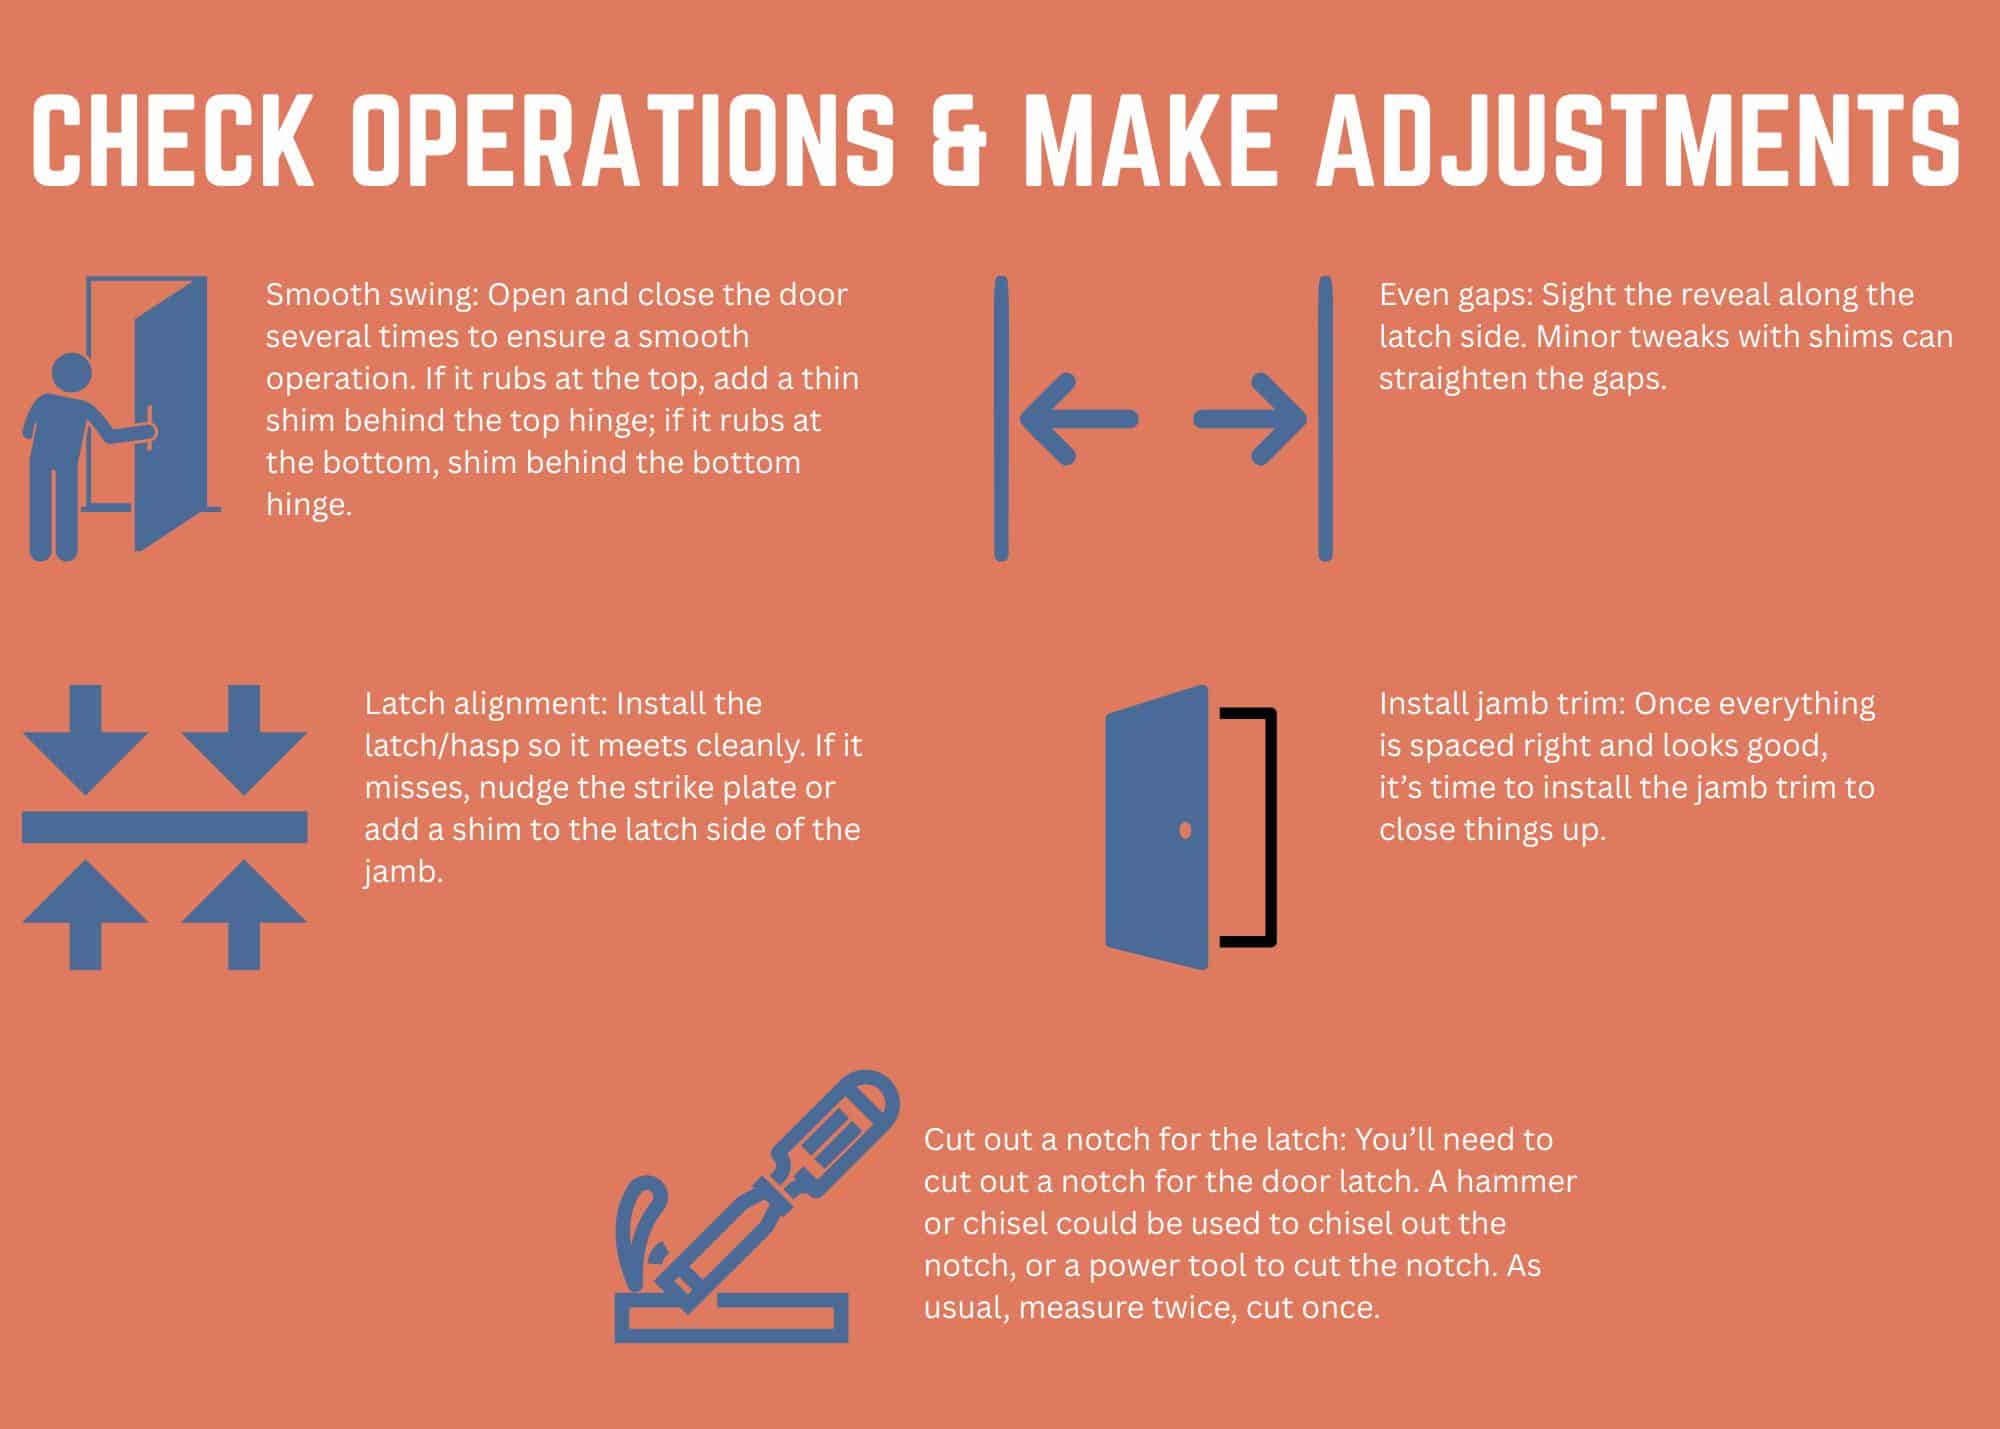
- Smooth swing: Open and close the door several times to ensure a smooth operation. If it rubs at the top, add a thin shim behind the top hinge; if it rubs at the bottom, shim behind the bottom hinge.
- Even gaps: Sight the reveal along the latch side. Minor tweaks with shims can straighten the gaps.
- Latch alignment: Install the latch/hasp so it meets cleanly. If it misses, nudge the strike plate or add a shim to the latch side of the jamb.
- Install jamb trim: Once everything is spaced right and looks good, it’s time to install the jamb trim to close things up.
- Cut out a notch for the latch: You’ll need to cut out a notch for the door latch. A hammer or chisel could be used to chisel out the notch, or a power tool to cut the notch. As usual, measure twice, cut once.
Step 5: Finish with Weatherproofing
- Seal the joints: Run a clean bead of exterior-grade caulk where trim meets siding and along any horizontal seams that shed water, protecting the interior of the trim and siding from moisture penetration and mold.
- Add door trim/drip edge if needed to direct water away from the top edge.
- Paint or stain: Almost there! Finish all exposed wood—including edges—to block moisture and sun damage. Good sealing helps prevent the damp conditions that lead to mold and mildew.
Common Pitfalls to Avoid
- Misalignment: Skipping shims or failing to check the level can lead to rubbing and premature wear.
- Under-fastening: Using too few or the wrong screws causes sagging and wears the door out over time. Use exterior-grade screws that are long enough to bite into the framing, not just the trim.
- Poor weather sealing: Forgetting caulk or finish invites water and swelling, which can cause wood to warp, or, you guessed it—mold.
- Hinge placement errors: Hinges too close together or out of line make the door bind. Mark carefully before drilling.
Pro Tips
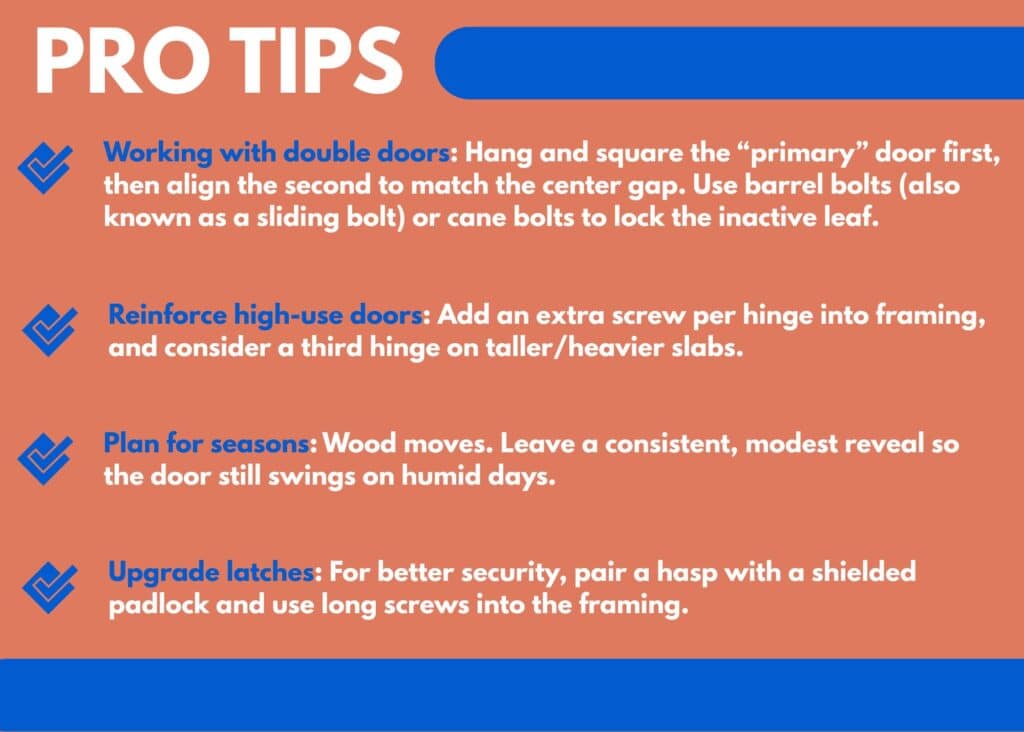
- Working with double doors: Hang and square the “primary” door first, then align the second to match the center gap. Use barrel bolts (also known as a sliding bolt) or cane bolts to lock the inactive leaf.
- Reinforce high-use doors: Add an extra screw per hinge into framing, and consider a third hinge on taller/heavier slabs.
- Plan for seasons: Wood moves. Leave a consistent, modest reveal so the door still swings on humid days.
Safety Considerations
- Lift with help. Doors are awkward—team lift, lift with your knees, and keep your back straight.
- Protect your hands. Use blocks/clamps to support the door. Keep fingers out of the hinge side and jamb while driving screws.
- “Receiver” hold: Have your helper support the door from the outside edge, not between the door and jamb, so there’s no pinch risk if the door shifts.
When to DIY vs. Call a Pro
While it’s cheaper to do it yourself—and at times, even fun—sometimes, being a lone ranger just isn’t worth it. Consider what your time is worth: If your opening is out of square, the jamb is rotted, or the door keeps binding after adjustments, it may be time for professional help—or even broader shed repairs. Often, repair is the better option for cost and convenience; our repair-vs-replace guide explains how to make an informed decision.
We Can Help! (On-Site Service & Nationwide Shipping)
Whether you’re replacing your door or planning to kick back while a professional takes care of it for you, we’ve got you covered!
Shed Repair LLC is based in Gap, PA. We provide on-site shed repairs within 100 miles and ship quality shed doors and parts to the lower 48 states, so you can get the right door and hardware no matter where you live.
Ready to install or need a hand? Request a free quote, or shop our shed doors and hardware today. We’re here to help you get a smooth-swinging, weather-tight door—so your shed works like it should, looks like it should, and keeps your belongings safe and dry like it should.
Contact us today to get a start on your new shed door!