Sheds are super useful. They provide a place to store your lawnmower so it doesn’t clutter the garage, keep garden tools dry and out of sight, and give you extra storage space when you need it.
Unfortunately, sheds can easily end up in a dilapidated condition that’s more of a headache than a help.
Here at Shed Repair LLC, we know sheds don’t fall apart overnight. While we tackle the tough cases, we also want to help you keep your shed from ever needing our services. That’s why we created this article with a few simple maintenance habits that will keep your shed in pristine condition for years.
Are you ready?
Let’s get started!


Why Maintenance Matters
Everything—from cars to furniture to appliances to your own body—needs maintenance from time to time in order to function correctly. Although you can purchase things made from high-quality materials that will last for years, without maintenance, those things will fall apart long before they should.
With structures like sheds, a small bit of damage like a leak in the roof won’t be a big issue to fix if you catch it quickly and immediately take care of it.
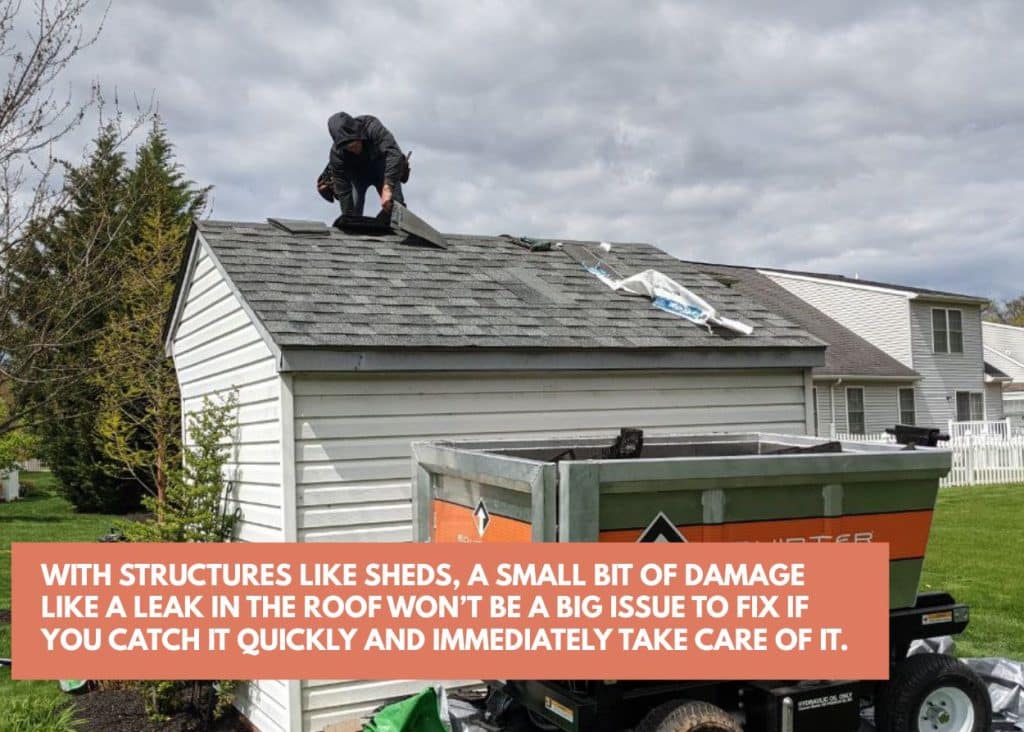
But if you don’t, the problem will get worse until it becomes a massive headache.
Unlike with your home, you might overlook shed issues at first, because it’s in your backyard and easily forgotten. That’s why it’s essential to have a list of maintenance tasks to do each season, so that you’re routinely checking up on things and fixing problems before they get worse.
Spring Maintenance
Of all the seasons, spring is the most crucial for checking your shed and doing basic maintenance tasks.
Why?
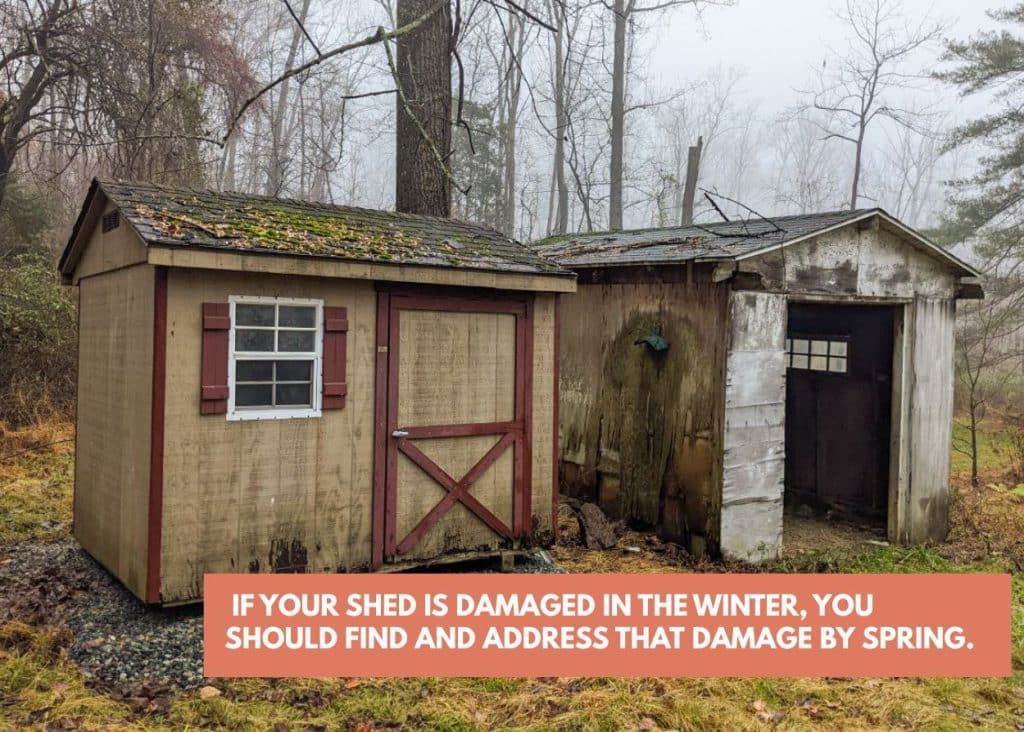
Because it comes directly after winter, the harshest season. If your shed is damaged in the winter, you should find and address that damage by spring.
Here’s what your spring maintenance should look like:
Step 1: Clear out clutter
It’s so easy to shove stuff into your shed over the year that doesn’t need to be there. And when your shed is overcrowded, it makes it harder to spot interior damage.
Choose a warm, sunny day, move some of the larger items out of your shed, and take a little time to throw out trash and declutter.
Step 2: Clean the interior
Now, grab a broom and sweep out dirt, debris, leaves, and cobwebs.
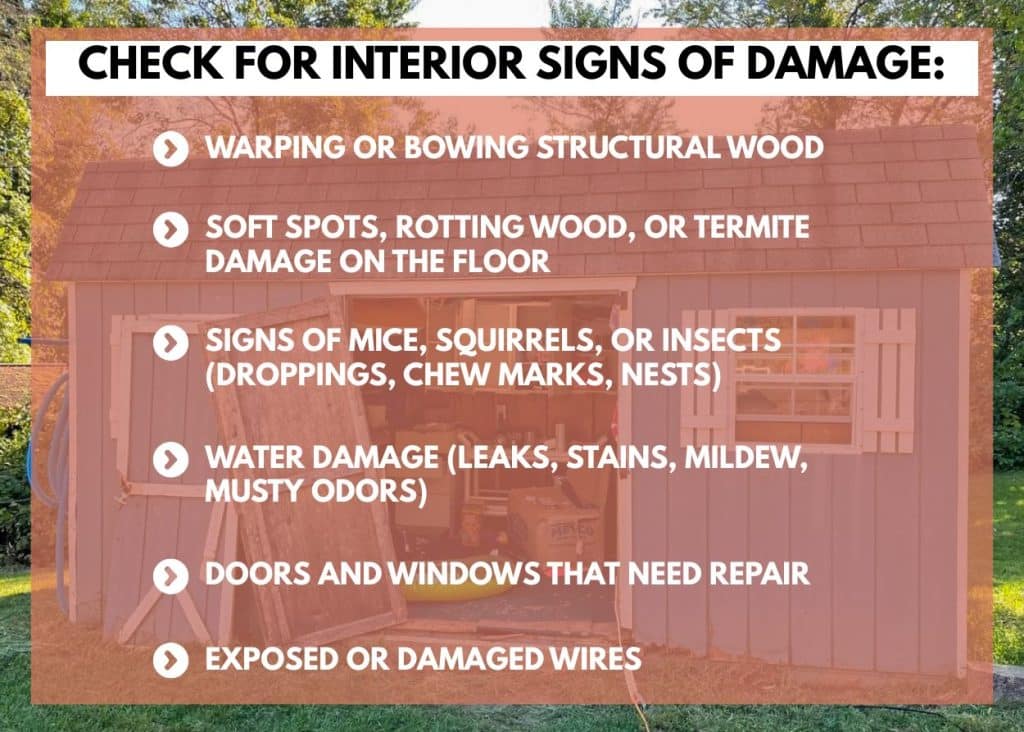
Step 3: Check for interior signs of damage
This is a great opportunity to quickly check over the interior of your shed for signs of damage, including:
- Warping or bowing structural wood
- Soft spots, rotting wood, or termite damage on the floor
- Signs of mice, squirrels, or insects (droppings, chew marks, nests)
- Water damage (leaks, stains, mildew, musty odors)
- Doors and windows that need repair
- Exposed or damaged wires
For more details, read our blog about Urgent Signs of Shed Damage.
Step 4: Address issues and organize shed items
Address any minor issues immediately, and then move all items back into your shed, taking the time to put things in their proper places. If you found a bigger problem that you need more time to address, leave space in the shed so you can easily access that issue later.
Step 5: Clean the exterior
Now, move on to the exterior. Sweep off the roof, clear out the gutters if your shed has them, and wash the siding with a hose and a soft brush.
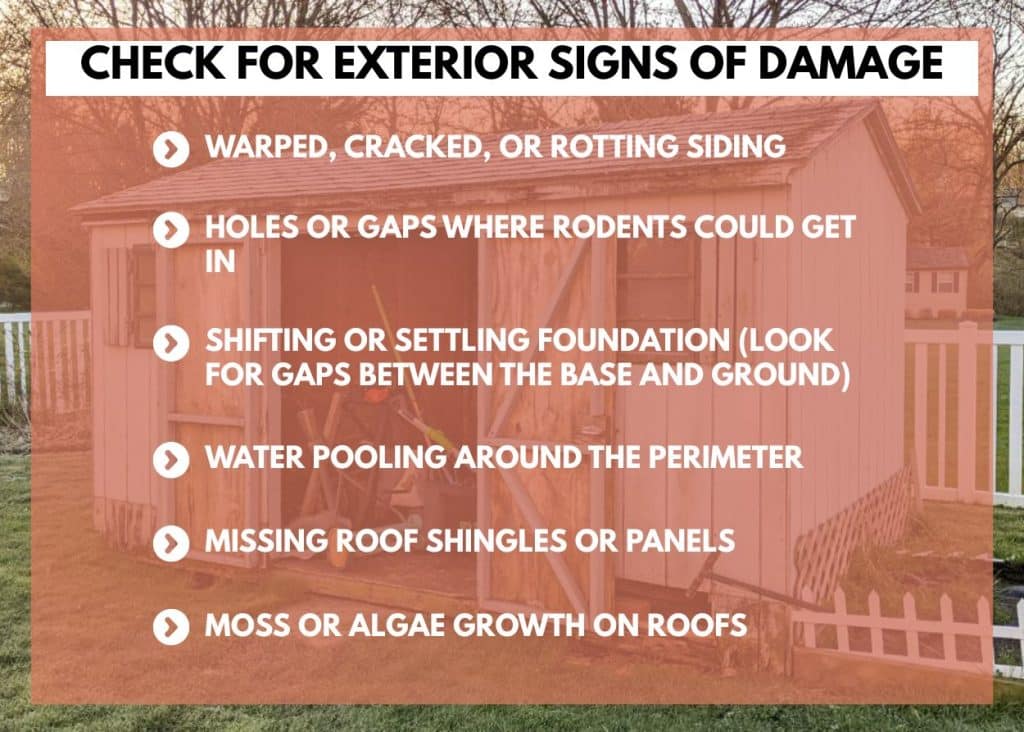
Step 6: Check for exterior signs of damage
Finally, check the exterior for signs of damage such as:
- Warped, cracked, or rotting siding
- Holes or gaps where rodents could get in
- Shifting or settling foundation (look for gaps between the base and ground)
- Water pooling around the perimeter
- Missing roof shingles or panels
- Moss or algae growth on roofs
The key is to address these minor issues promptly. If you’re interested in learning how to do repairs yourself, read our blog post on How to Repair a Shed. And if the damage is too extensive for a simple DIY, don’t hesitate to call the pros!
Summer Maintenance
Although summer maintenance is not as crucial as spring maintenance, here are some things to check for over the hottest months.
Ventilation and humidity
If you’re having ventilation problems, it will be most apparent during the hot summer months. If your shed feels like an oven or sauna, ensure your vents are working correctly, and consider upgrading your vents. You may also need to use some fans for airflow and a dehumidifier if you’re having moisture issues.
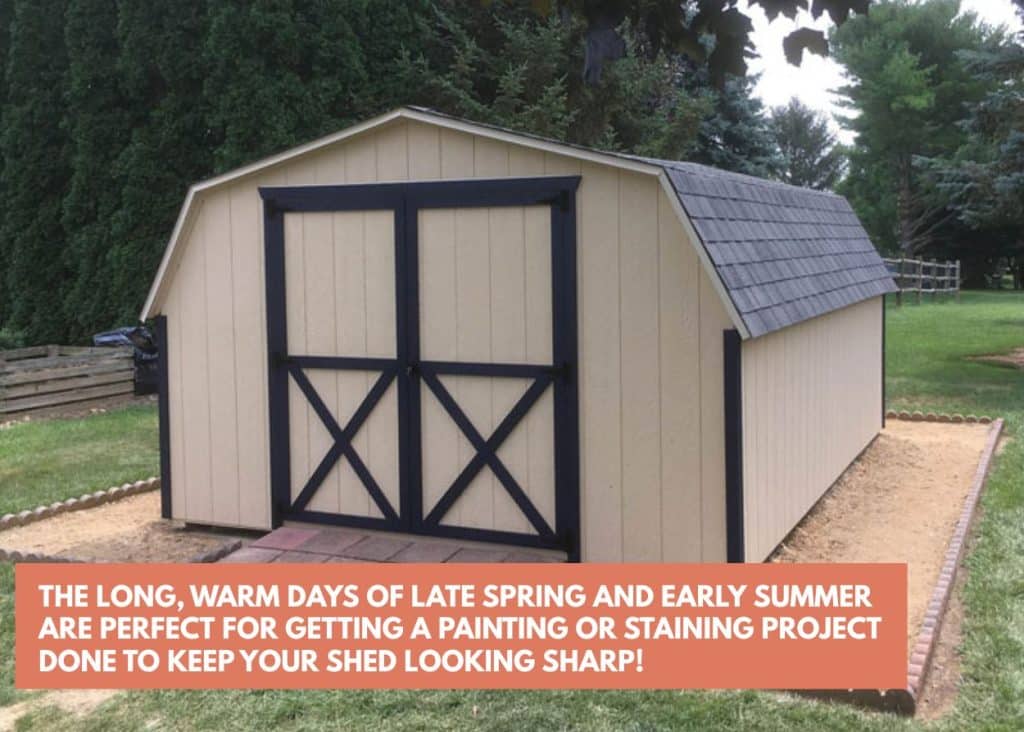
Painting and Staining
The long, warm days of late spring and early summer are perfect for getting a painting or staining project done to keep your shed looking sharp!
Fall Maintenance
The first thing you want to do come fall is revisit the issues you found the previous spring. Did any of the problems come back? For example, if you found mice in your shed and sealed the holes, did they find their way back in?
Are there any problems you found in the spring but forgot to take care of? Do them now, before winter sets in!
Check over your shed again, ensuring that gaps are sealed and everything is watertight and ready for winter.
Winter Maintenance
Winter is a month for cozying up and waiting out the cold months, not for doing extensive maintenance tasks. Still, since winter has the most drastic weather, you’ll want to keep an eye on your shed. The last thing you want is for the roof to collapse under a pile of snow, damaging your belongings!
Here are the three most crucial maintenance tasks to do in winter:
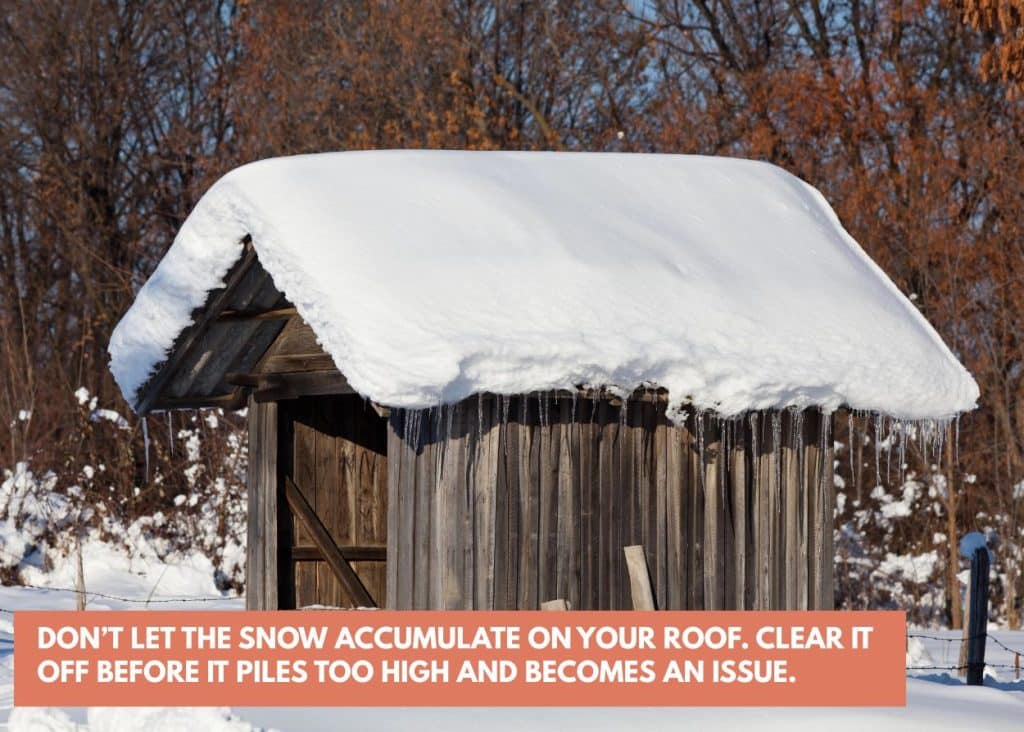
Snow removal
Don’t let the snow accumulate on your roof. Clear it off before it piles too high and becomes an issue.
Storm damage
After a storm, check your shed for signs of damage (but prioritize checking your home first!)
Periodic checks
It can be tempting to ignore your shed over the winter, since it’s full of patio furniture, a lawnmower, and gardening supplies you won’t use until spring. But it’s always a good idea to poke your head in every couple of weeks to make sure there isn’t a major leak or other issue.
Year-Round Shed Maintenance Tips
Although the above seasonal maintenance tips will help you keep your shed in good repair for years to come, we have a few more tips you should keep in mind throughout the year!
Tip 1: Learn to let go
Sheds can easily become a catch-all for items we can’t quite bring ourselves to get rid of, things we think we might use someday, or items we’re unsure how to properly dispose of.
The issue?
All that clutter in your shed may be hiding maintenance issues like rodent or water damage, allowing it to spiral into a bigger problem.
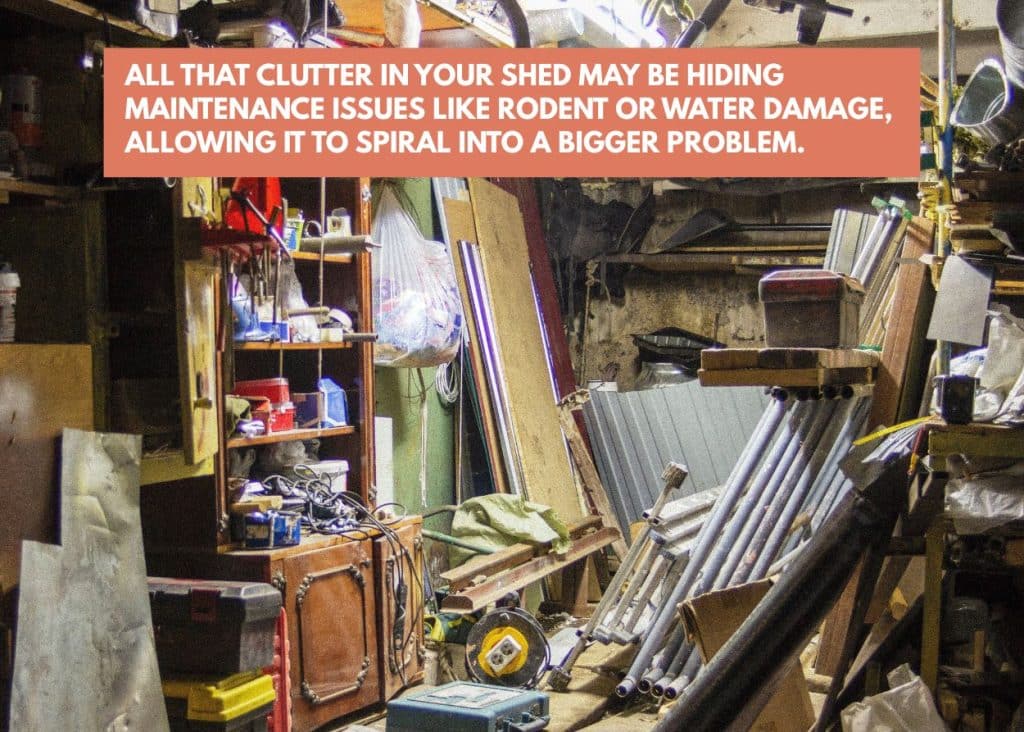
If the clutter in your shed feels overwhelming, start taking small steps toward learning how to let go of items.
Tip 2: Keep it organized
If you shove everything into your shed with no organization, you’ll never be able to find what you’re looking for, and you’ll end up buying duplicates of items, cluttering your shed even more. Use some simple shed organization techniques to keep things organized and in their place, so issues will be easier to spot!
Note: Decluttering and organization might feel completely overwhelming. We get it! Instead of trying to tackle the whole thing, take small steps, remembering that a little bit of improvement is better than no improvement at all.
Tip 3: Inspections
It doesn’t hurt to get a professional inspection now and then. If you’re scheduling a home inspection, ask if they’ll also inspect your outbuildings. It’s nice to get peace of mind that a professional looked at your shed, catching anything you might have missed.
Where to Go for Serious Shed Repair
Although you should be able to keep your shed in decent condition on your own, there will be times when you need serious repairs. Maybe a huge family of rodents moved in over the winter and wreaked havoc, or a storm damaged your roof.
Who do you call?
If you live in Pennsylvania, Maryland, Delaware, or New Jersey, give Shed Repair LLC a call! Our expert repair technicians can restore your shed to pristine condition without the expense and hassle of having to get a brand-new shed.
Whether you’re dealing with doors that don’t close properly, a leaking roof, or a rotting foundation, we’d love to help!
Contact us today to discuss your shed’s needs and get a quote.